

How To Cut Cheese The Right Way
Planning a dinner party and want to create a beautiful platter like the ones you’ve admired on Instagram, Facebook, or in restaurants?
If you’ve already read our article 4 Steps to Creating the Perfect Cheese Plate (and if you haven’t yet, make sure you check it out!), you have the cheese, the fruit, some nuts, and the perfect jam. But how do you know how cut all those different shaped cheeses to make sure each of your guests get the best possible experience?
You don’t want to serve some of your guests rind, while others are enjoying a piece of inner paste.. You want everyone to enjoy a perfect slice of cheese, regardless of the type, texture, or shape.
And that’s what we’re going to show you today. You’ll never serve an improperly cut piece of cheese again!
Quick links:
Cut just before serving
First of all.. We always recommend cutting cheese just before serving, as it allows the cheese to keep its shape and avoid sticking together (this is particularly important for soft cheeses).
Hard cheeses tend to dry out if left too long, so it’s best to wait until just before serving. Take your cheese out of the fridge 30-60 minutes before serving to allow the cheese to warm to room temperature. This will make it easier to cut, and allow the flavour of the cheese to come out.
Cold cheese is not as flavourful as is room temperature cheese.
We also recommend using a proper cheese knife. Depending on the texture of the the cheese, you will be much more successful if you use the right tool for the job.
See our full collection of cheese knives and slicers.
Cut according to shape
Cutting according to the natural shape of the cheese, so that all guests receive the same portion, cheese to rind ratio, etc.
Wheels and rounds
The easiest way to cut a wheel of cheese is to cut it the way you would cut a cake. Start from the centre of the wheel and cut outwards, being sure to cut wedges of even size and shape. Avoid cutting wedges too thick, keep them approximately under 1/2" thick at the rind end. Work your way around the wheel until you have a beautiful array of even wedges.
And don't feel the need to cut the entire wheel or piece of cheese if it is too much. Cut and replenish the platter as needed.
If working with a larger wheel, and the slices are too large, try cutting each slice again lengthwise for some lovely long wedges, or even widthwise if the rind is not too imposing. Experiment with a couple pieces until you have the presentation you’re happy with.
Not everyone buys an entire round of cheese for a party, but the same technique applies to a wedge.
If the round or wedge has a rind, you can leave it on for presentation (especially if it's a nice looking rind!). As long as none of your guests get pieces that are all rind!

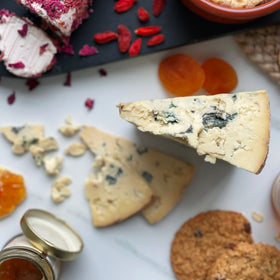
Soft wedges
Begin in the centre and cut outwards, creating wedges. If working with a particularly soft or gooey cheese, things can get messy near the tip. Simply cut a tiny bit off the tip of the cheese to avoid a mess.
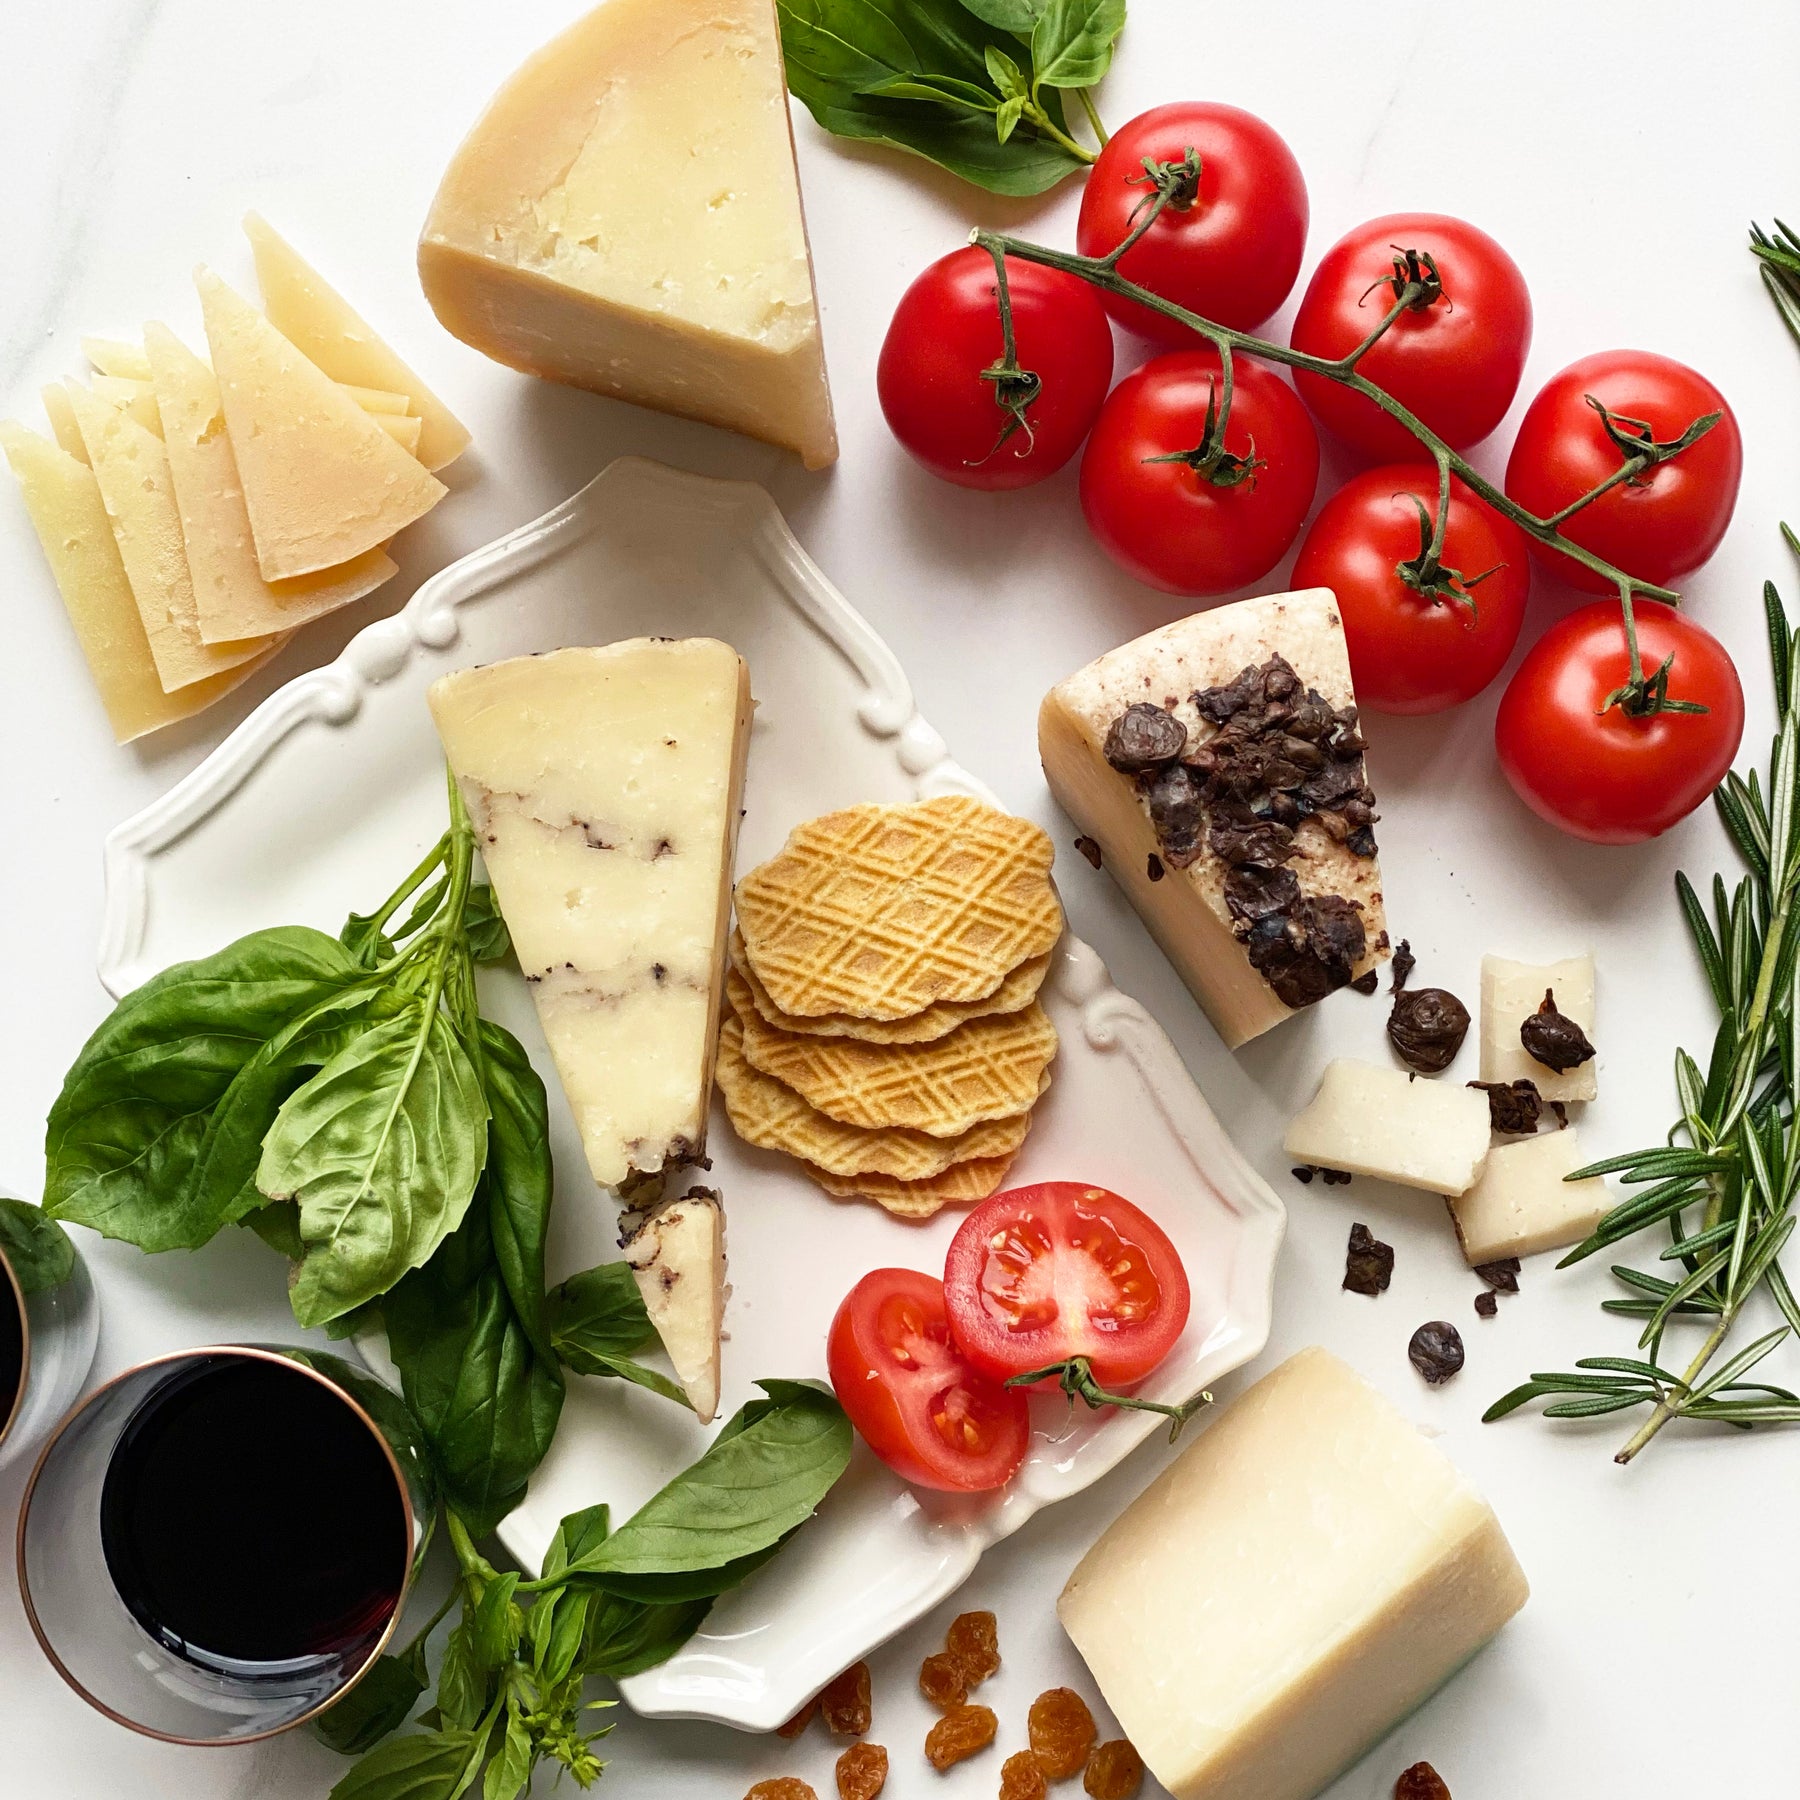
Hard and semi-hard cheese
For these types of cheeses, whether there is a rind on each end or not, you can decide whether or not you want to remove the rind beforehand. If it is inedible or unattractive, feel free to remove it first. If you think it will add visual appeal to your platter, then leave it.
Then cut the cheese in half lengthwise. You will now have two long chunks of cheese.
Cut slices widthwise now from each chunk, ¼” - ⅜” thick. Then cut each piece diagonally, and voila, perfect cheese triangles! Easy!
For hard to semi-hard cheeses, we recommend this high quality knife from Bosco

Pyramids
Starting from the centre top, cut wedges the full length of the cheese. You can either cut thin wedges if it is a harder smaller pyramid, or you may want to cut wider wedges, then cut those wedges into chunks.
You may need to experiment with your particular cheese to see which presentation you prefer.

Logs
With the log lying flat, begin by cutting round medallions from one end to the other. Simple!
As we know, food is an art. And sometimes it takes a bit of experimentation and trial and error.
Use this as a guide to cut cheese to create a nice platter. But feel free to try different things!
Let us know in the comments if you have a different way of cutting a certain cheese not mentioned here.
Happy cutting!
-Vitali
Leave a comment